ASSIGNMENT 2: CREATIVE CAPTURE
PART 1: GET CREATIVE WITH SHUTTER SPEED AND APERTURE
In this part of the Assignment 2, the main aim was to ensure students were able to manipulate with the exposure settings to produce the required effects in a photo. Thus, in this section, I tried myself on using these exposure settings to produce the best pictures as I could where the first 3 sets of photos described on the effects of the settings of aperture, shutter speed and ISO individually while the other sets highlighted on using exposure settings to produce the identical quality of photos.
SET 1: APERTURE
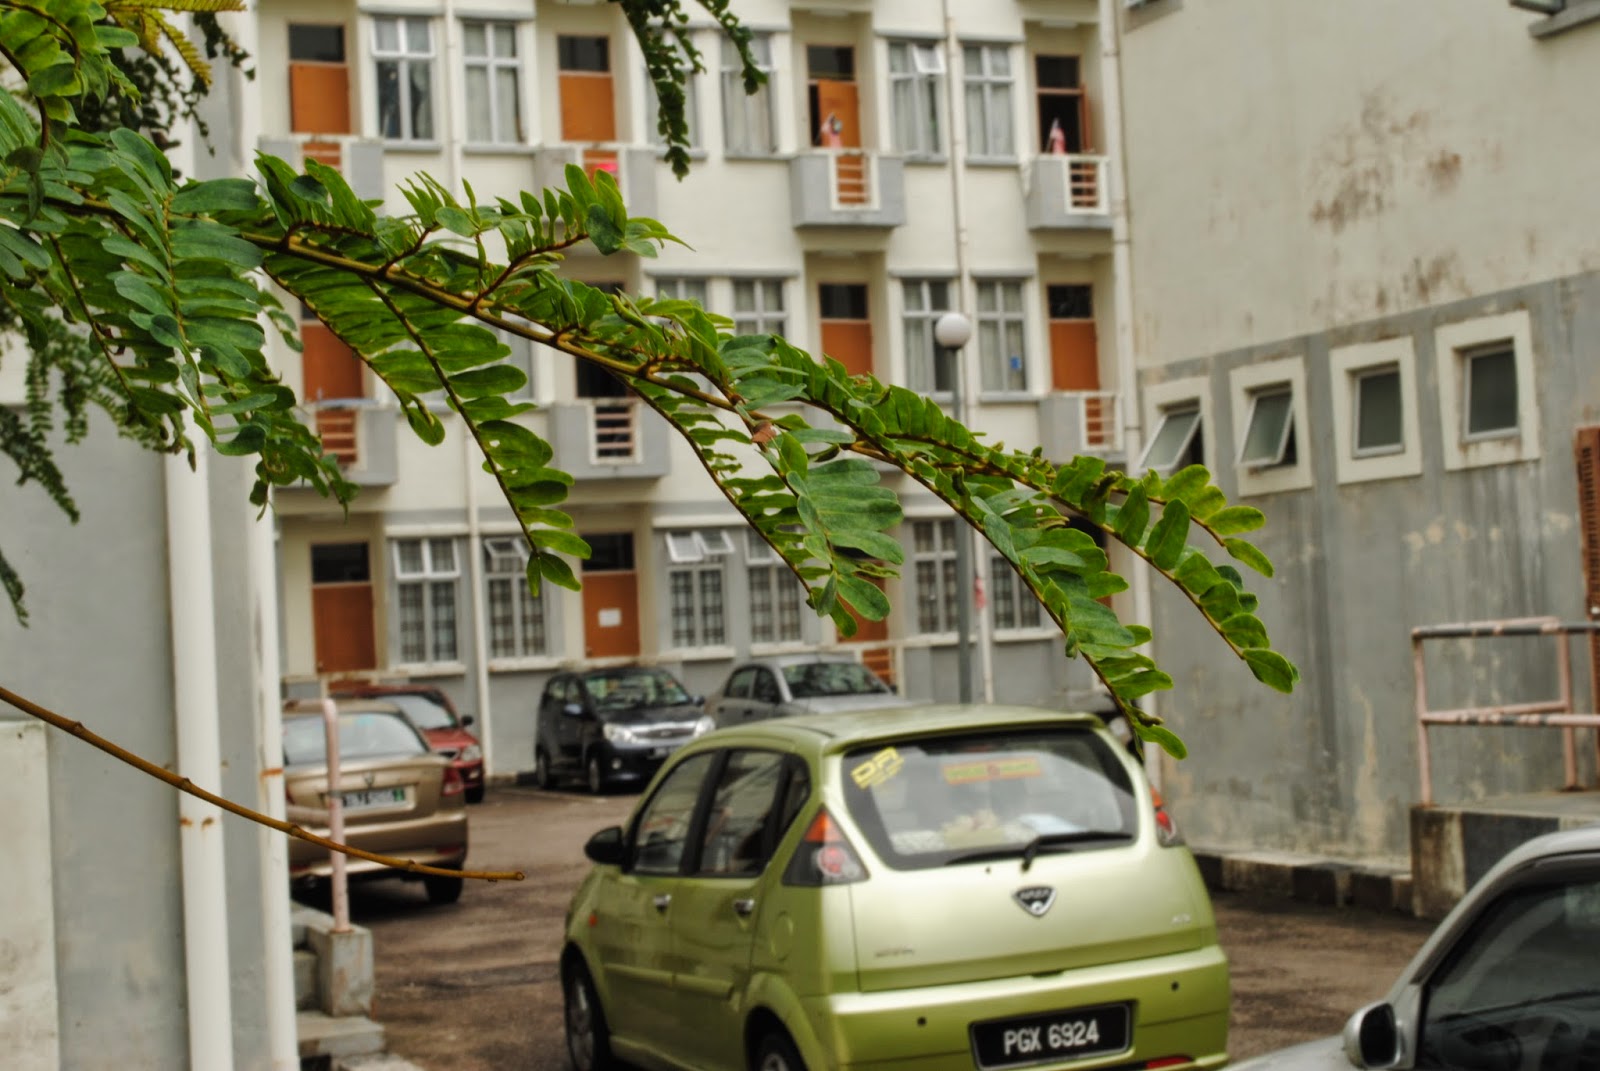
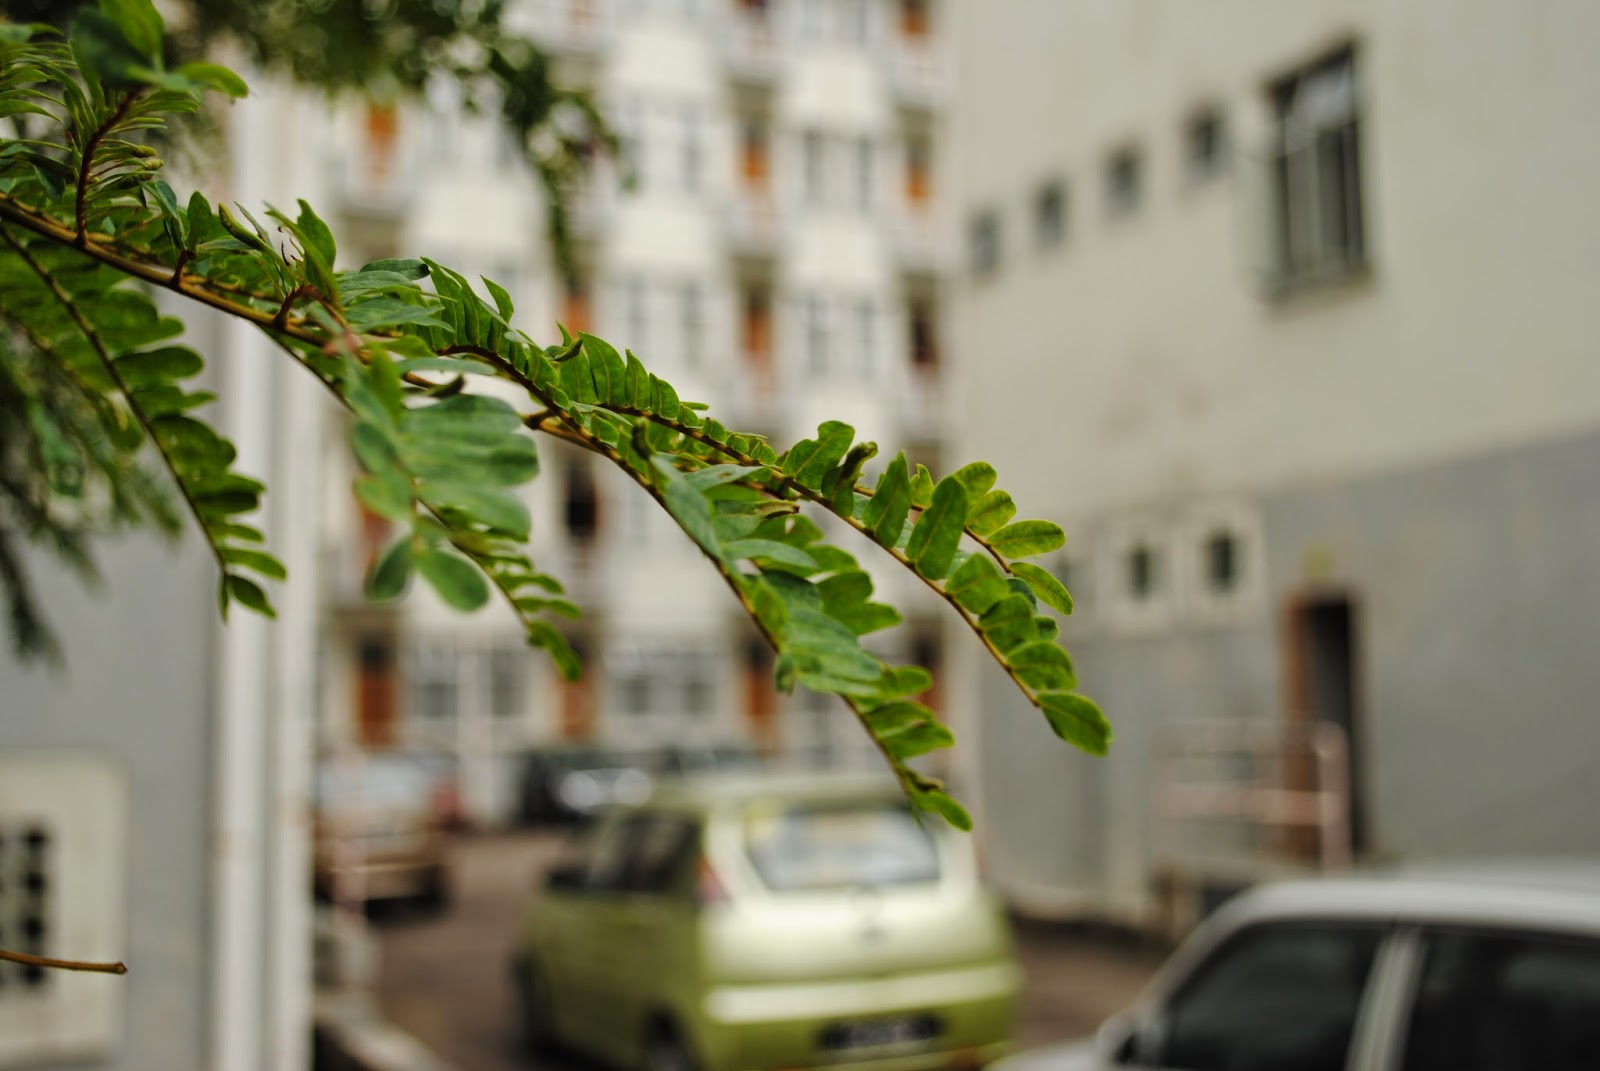
In this section the effect of aperture was described.
 |
| f/29 | 1/6s | ISO 100 (Nikon D3000@38mm) |
 |
| f/16 | 1/20s | ISO 100 (Nikon D3000@28mm) |
 |
| f/10 | 1/60s | ISO 100 (Nikon D3000@28mm) |
 |
| f/4.5 | 1/250s | ISO 100 (Nikon D3000@28mm) |
It should be noticed that by decreasing the aperture from f/29 to f/4.5, the size of the hole becomes larger and the depth of field becomes smaller where the sharp area becomes smaller, which produces a photo with all background was blurred off while focusing on the leaf only.
It has to be noticed when the aperture setting become smaller, the shutter speed become larger, it is because a smaller aperture has a larger size of the hole in lens which allows more light to travel into the camera, thus the shutter has to be shut off faster in order to produce a photo without overexposure.
SET 2: SHUTTER SPEED
In this section the effect of aperture was described.
 |
| f/2.5 | 1/30s | ISO 100 (Nikon D3000@18mm) |
 |
| f/3.5 | 1/80s | ISO 100 (Nikon D3000@18mm) |
 |
| f/3.5 | 1/100s | ISO 100 (Nikon D3000@18mm) |
 |
| f/3.5 | 1/125s | ISO 100 (Nikon D3000@18mm) |
It can be noticed when the number of denominator of the shutter speed became larger, the shutter speed reacted faster to shut off the shutter faster, which was able to freeze the rotating tyre. Thus, from the last photo we were able to observe the tyre stripes more clearly compared to the first photo. However, because the shutter was shut off faster, the last photo was darker than the first photo as the light traveled into the camera became lesser.
SET 3: ISO
In this section the effect of ISO was described.
 | |
|
 |
| f/14 | 1/6s | ISO 200 (Nikon D3000@18mm) |
 |
| f/14 | 1/6s | ISO 400 (Nikon D3000@18mm) |
 |
| f/14 | 1/6s | ISO 800 (Nikon D3000@18mm) |
ISO is the sensitivity of the camera to the light. From the photos, we can easily notice that once the ISO value was increasing the leaving shutter speed and aperture settings to be constant, the photos were getting brighter as the camera became more and more sensitive to the light. Thus, high ISO is preferable in night shot. However, one drawback of high ISO is that the photos produced contain more noise, which affects the quality of a photo.
After the effects of these exposure settings were reviewed, below were the sets of photos which were produced with identical quality and yet different exposure settings.
After the effects of these exposure settings were reviewed, below were the sets of photos which were produced with identical quality and yet different exposure settings.
SET 4: THE LANDSCAPE VIEW
In this section, the landscape view captured using 5 different exposure settings were compared.
 |
| f/10 | 1/125s | ISO 100 (Nikon D3000@20mm) |
 |
| f/16 | 1/60s | ISO 100 (Nikon D3000@20mm) |
 |
| f/25 | 1/25s | ISO 100 (Nikon D3000@20mm) |
 |
| f/11 | 1/200s | ISO 200 (Nikon D3000@20mm) |
 |
| f/22 | 1/50s | ISO 200 (Nikon D3000@20mm) |
For the first until the third photo, with the same ISO at 100, when the aperture is getting larger from f/10 to f/25, the size of the hole of the lens opened for light to travel into camera was getting smaller. Thus, in order to get enough light to ensure the photo captured were precisely exposed, the shutter speed has to be slower changing from 1/125s to 1/25s to let more light to travel into the camera body.
Now comparing the first and the fourth photo, with the same aperture which was f/10 yet with ISO increased to 200 in the fourth photo, the shutter speed closed faster in the fourth photo. It was because the increasing ISO increased the sensitivity of the lens to the light which resulted in better light "catching". Thus, the shutter has to be closed faster to avoid the fourth photo to be overexposed.
The fourth and fifth photo followed the same explanation as in the explanation of the different exposure settings for the first till third photo.
SET 5: THE VIEW OF UTM MAIN GATE FROM TASIK ILMU
In this section, the landscape view captured using 5 different exposure settings were compared.
 |
| f/13 | 1/80s | ISO 100 (Nikon D3000@55mm) |
 |
| f/36 | 1/10s | ISO 100 (Nikon D3000@55mm) |
 |
| f/29 | 1/30s | ISO 200 (Nikon D3000@55mm) |
 |
| f/16 | 1/100s | ISO 200 (Nikon D3000@55mm) |
 |
| f/22 | 1/100s | ISO 400 (Nikon D3000@55mm) |
The third and the fourth photo were captured using ISO 200. Comparing the third and the second photo, with similar aperture setting yet with ISO 200 in the third photo, the shutter increased from 1/10s to 1/30s as the sensitivity of the camera to light in the third photo was higher than the second photo. Thus, the shutter has to be closed faster to capture the third photo.
The third and fourth photo has different aperture settings which caused different shutter speed. This was explained in the comparison between the first photo and the second photo.
Lastly, the ISO was increased further to 400 in the fifth photo. Examining the aperture settings for the fourth and fifth photo, the aperture increased from f/16 to f/22 which caused the size of the hole to be smaller and normally the shutter has to be closed slower. However, as the sensitivity of the lens to the light increased, this served as a compensation to the effects due to the increased aperture. Thus, the shutter speed remained at 1/100s for the fourth and fifth photo.
These sets helped me boost up my knowledge on the three musketeers after I practically take some photos with different exposure settings.
No comments:
Post a Comment